A December to Remember
I heard a bird sing in the dark of December. A magical thing and sweet to remember.
Oliver Herford
Preliminary thoughts…
December 26 2019, 1:22 PM SGT. Thousands of people across Singapore had their heads tilted towards the sky, mouths agape, standing eerily still; the air was tense with conflicting feelings of awe, surprise, joy, uneasiness and even a tinge of fear. Without any context, one cannot fault a person for thinking that the Second Coming of Jesus Christ was happening at that very instant. Of course, people were watching in amazement not at the descent of some divinely being from the heavens, but the devouring of the Sun by the Moon in a rare annular solar eclipse, darkening the skies to an evening shade in the middle of the afternoon, while leaving a fiery ring of passion around the black, almost soulless circle of the Moon.
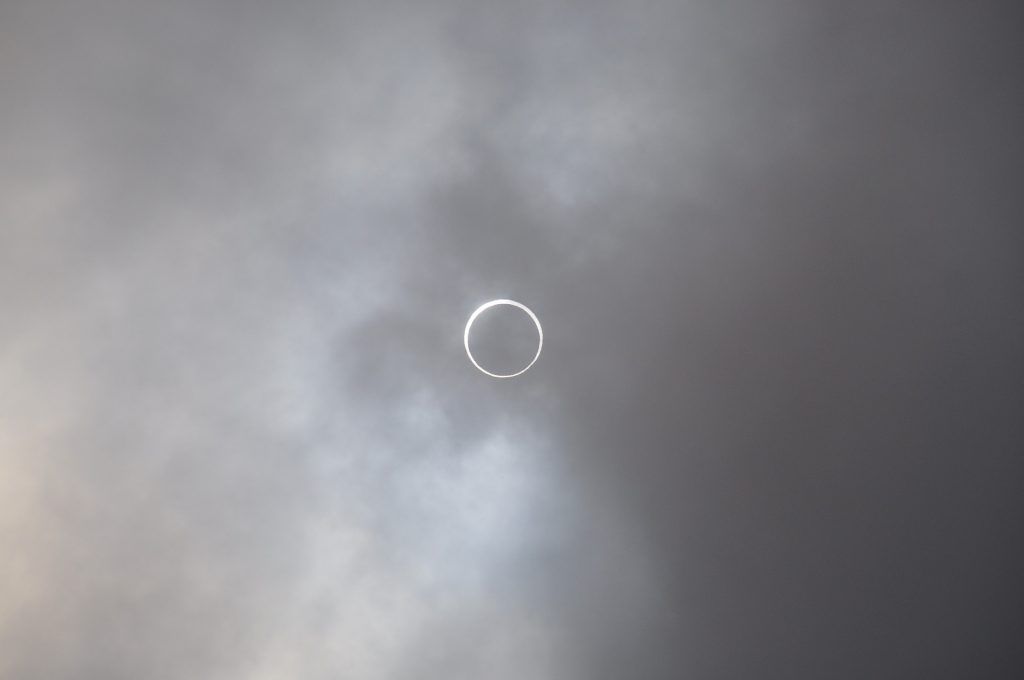
Put a ring on it
Eclipses have traditionally held a lot of symbolic meaning, but to have such a rare annular eclipse occurring just one day after Christmas, near the end of the decade; now that is a truly evocative way to end the year. In astrology, the Sun is typically associated with life and ambition, while the Moon is associated with our subconsciousness and emotions. Hence, a solar eclipse signifies the coalescence of one’s strongest desires with their internal self; the alignment of multiple identities into a new being of incomparable beauty in its own right. In other words, eclipses foretell of major changes beyond our control, but also remind us on the importance of honest self-reflection in the path of personal growth.
Indeed, much has changed in the month of December, albeit not as much progress as we would have wanted due to long periods of absence of multiple members and having other commitments. Nonetheless, here is a list of our main accomplishments this month.
Mirror
We had sent our mirror design to be CNC lathed from aluminium in China last month and it arrived in early December.
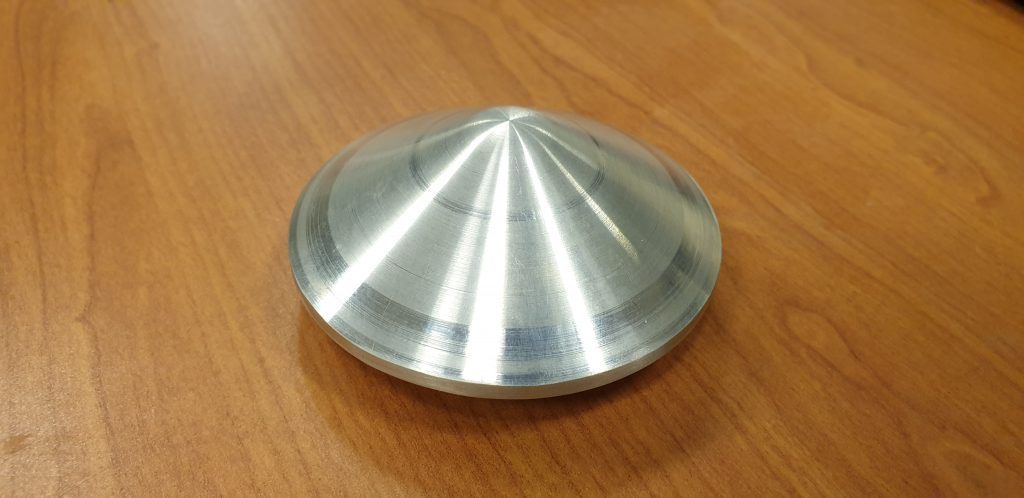
Unpolished mirror
The mirror was mounted on a drill press and sanded with sandpaper of progressively higher grits, starting from 120 and ending with 2000. This was followed by 2 rounds of polishing, first with the more abrasive Autosol metal polish and second with Meguair’s Nxt Generation All Metal Polysh.
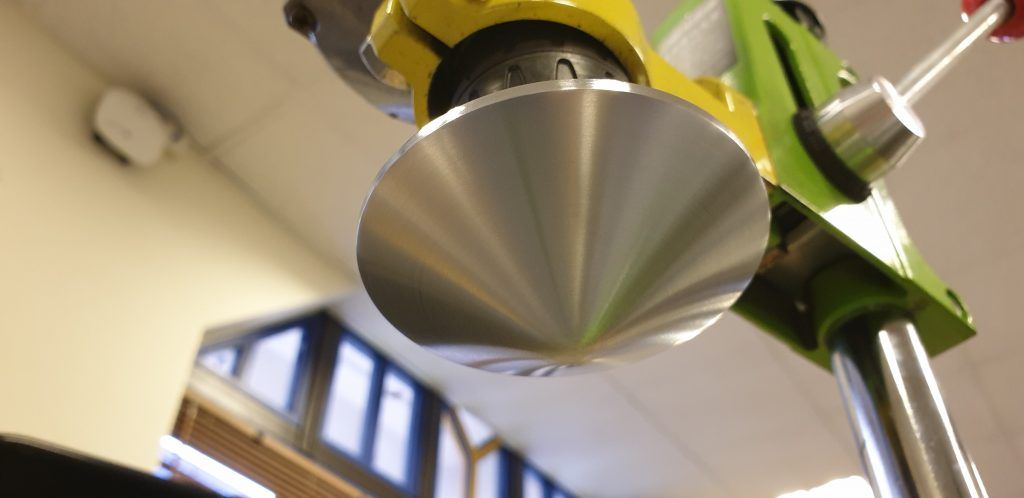
After 2000 grit sanding
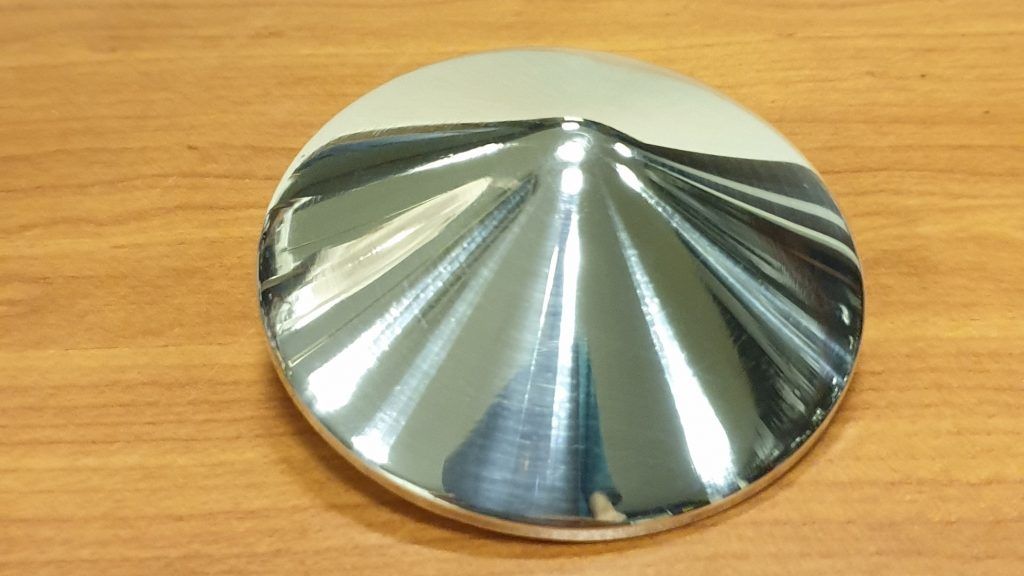
After polishing
The results were acceptable, but scratches were still somewhat visible. Hence, we decided to redo the sanding process with wet sanding, and in true blue Hwa Chong Robotics style. The final image was slightly improved.
Irresponsible acts were done responsibly...
Also, since the weight of the mirror is over 100 grams, the existing thin mirror stands were not strong enough to hold it steadily, causing the image to shift and vibrate when the robot is moving. Hence, a new mirror plate was designed, which connects directly to the four copper stands from the third layer. In addition, four thin stands were extended out from the trapezium mounts on the third layer, which prevents the plate from bending under the mirror’s weight.
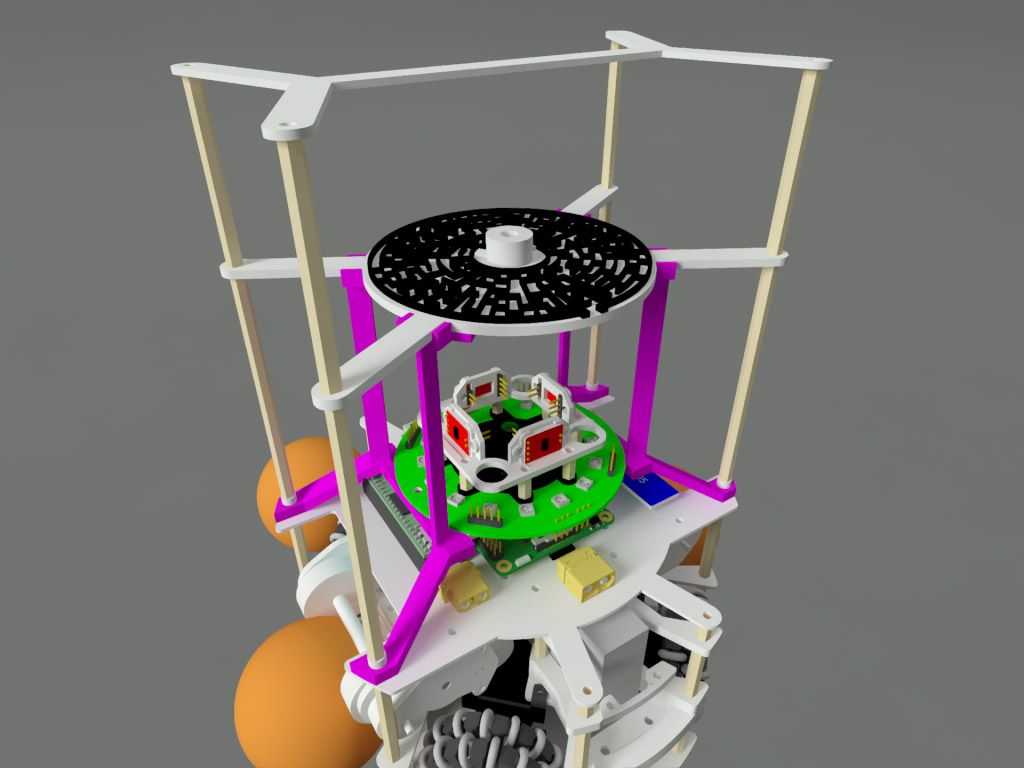
8 stands for 1 mirror
And yes, there is a maze on top of the mirror plate which fits a 2mm ball. Because, y’know, why not? 😉
Dribbler
Previously, the dribbler’s spring was quite strong, causing the dribbled ball to not have enough backwards force to fully enter the catchment area sometimes. We tried experimenting with an oil damper, but it was even stiffer than the existing spring and many models were too long to be implemented into our dribbler design easily. Hence, we ended up simply using a weaker spring and made new rollers (as the old ones were rather worn out), and performance now is quite acceptable. This should be the final, completed version of the dribbler.
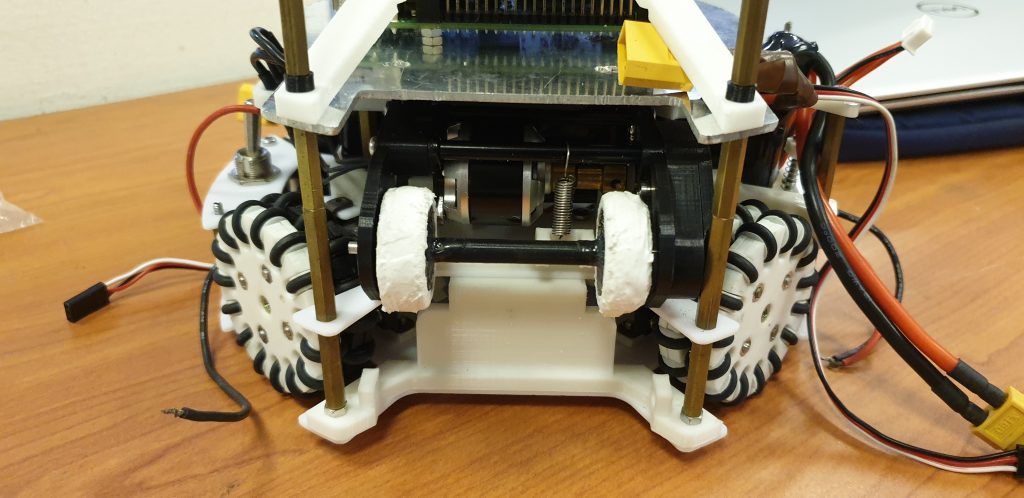
New year, new spring (ha, geddit?)
PCB for testing
We made a PCB which tests out some of the electrical components we will be using in our robot’s actual PCB. This PCB will arrive in early January 2020.

Board layout for our test PCB
We will be testing a 12V to 5V/3.3V buck converter that uses a new IC from the one we used last year, as well as a 12V to 80V boost converter with a digital potentiometer to change the output voltage (for controlling the strength of our solenoid). We also have an STM32 breakout board. This year we used the Maple Mini (which uses the STM32 chip) as our secondary IC and we want to shrink it down to a very small footprint so that we could put more and further parallelize our robot’s processing power. We will also be experimenting with the CAN bus protocol for communication between the STM32 and Teensy. Other components we will be testing are the DRV8833 motor driver and light sensors (LED and phototransistors).
GUI for Camera
A GUI was created to facilitate the calibration of the camera. It streams and processes the video feed of the Pi camera in real time. Experimentation with different parameters required to optimise our colour detection program, such as colour ranges, white balance and exposure, was conducted and we created programs to automate the process of identifying these parameters.
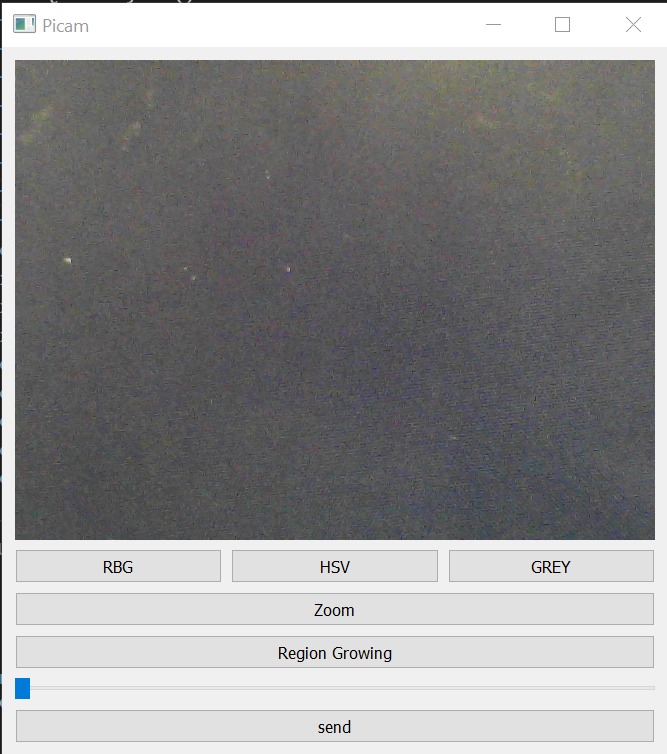
GUI Controls (top to bottom): Colour space, Zoom function, Region growing function, Exposure parameter, Save calibration data
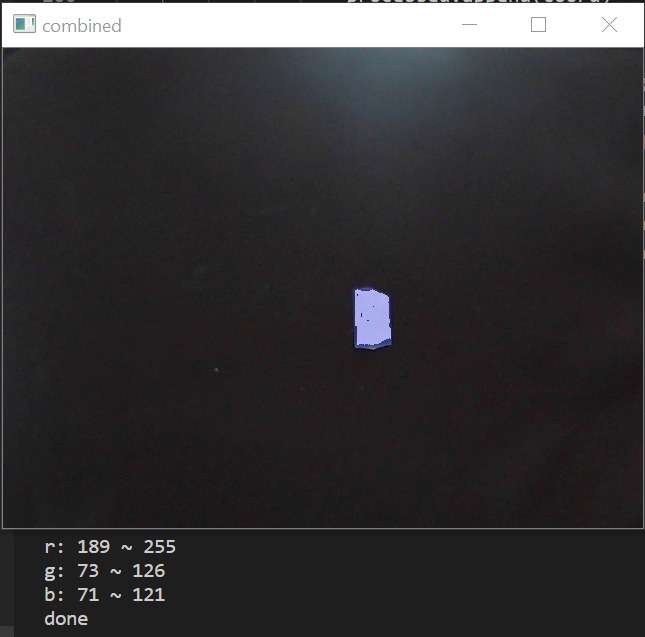
Region growing algorithm on an object of interest
Conclusion
Progress overall is still on track and we are slated to finish construction by February, leaving a full month for programming before the Singapore Open. This month of December has been slower than desired, but just like how the tide recedes before a tsunami strikes, we are now more prepared than ever to forge new frontiers in the new year. 2020, here we go!
